A.k.a. how to install a in-situ composter made by the company “Algreen Products” company.
TL;DR;
- What is a “solar digester”?
- How does a “solar digester” work?
- What benefits does a “solar digester” provide?
- What are the detriments of a “solar digester”?
- Step by step install instructions
A. What is a “solar digester”?
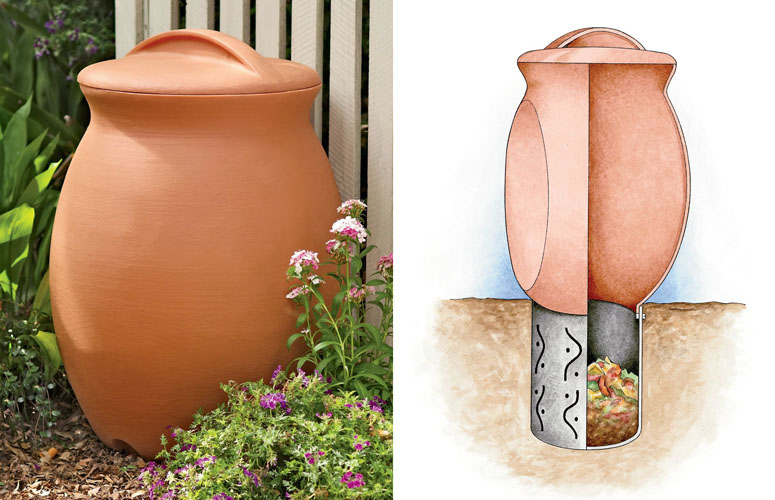
A solar digester is an in-situ composter attached with an above ground container placed in sunny location.
B. How does a “solar digester” work?
A in-situ composter is essentially a hole in the ground in which you throw biodegradable material (like for example kitchen scraps) to decompose.
Worms eat and break up the biodegradable material to produce worm castings (a.k.a. liquid gold for plants). The worms disperse the castings as they leave the compost site; furthermore, when it rains, the worm castings get flushed to the surrounding soil by the network of tunnels the worms dug up. Nearby plants and trees consume these castings and utilize them in their life-cycle.
Because no air flows through the biodegradable material, anaerobic bacteria build up and decompose the material into bio-available compost for plants and trees to consume; however, the problem with anaerobic bacteria is they lower the soil pH around the composter site and produce a foul smelling odour to humans. The lower pH makes it difficult for plants / trees to consume; while the stinky smell makes the human environment less desirable.
The attached above ground container is closed lid (so no smell comes out) and must be placed in full sun location. Throughout the day, the sun’s rays hit the outer wall of the container and raise the temperature inside the container. The extra heat accelerates the breakdown of the food waste.
Wait, won’t the worms cook inside with the heat? Not necessarily, as the material on the top breaks down, the material falls down and produces a layer of material inside. The temperature at the bottom would be cooler than the top and as a result the worms find their place in this situation.
C: What benefits does a “solar digester” provide?
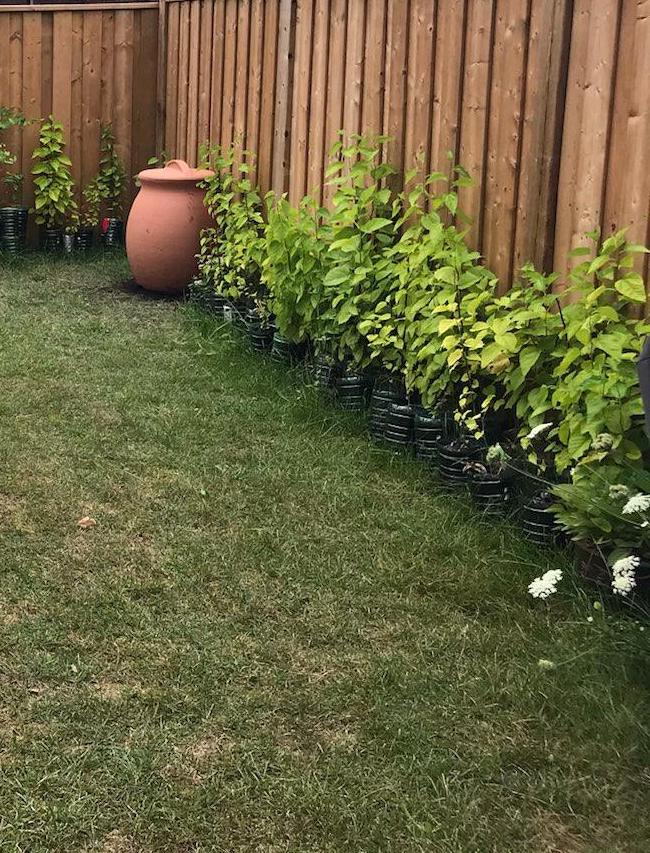
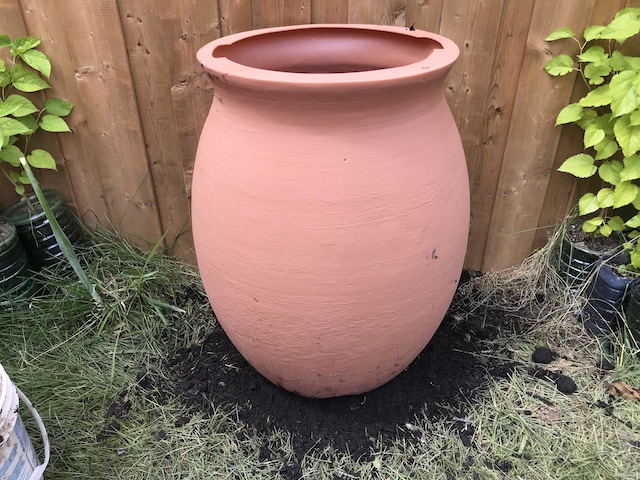
The worm castings, decomposed particulates and bioavailable nutrients leech in the surroundings which can be consumed by plants / trees. My goal is to plant some edible trees and edible shrubs near the solar composter to take advantage of this.
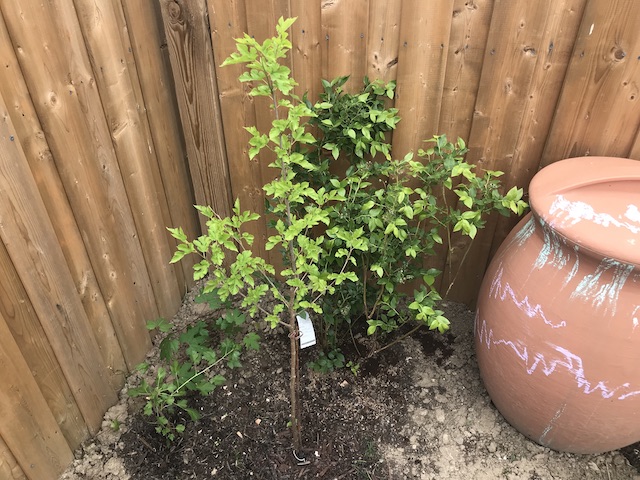 In this picture you can see I have planted a mulberry tree, a couple blueberry bushes and a single gooseberry bush. Off camera on the other side there are more blueberry bushes along with another single mulberry tree.
D: What are the detriments of a “solar digester”?
Two major issues you need to consider: (1) Very Acidic soil and (2) Potential surrounding soil-borne pathogens.
(1) Very Acidic soil - Because this composter is an “in-situ composter”, the primary means of decomposition will be through anaerobic bacteria, meaning bacteria without air.
(2) Potential surrounding soil-borne pathogens - If you add meat, animal fecal matter, raw eggs for example, you run the risk of introducing soil borne bacteria which can be harmful to humans. The manufacturer of this solar digester says the solar heat will kill these pathogens - whether true or not, I’ll avoid these items just to be safe.
(3) Maintenance - Every two years, you’ll need to remove the material inside.
To mitigate the detriments, the first thing I’ve done is planted acid loving bushes right next to the solar composter: blueberries!
The second thing I’ve done to mitigate the detriments is to avoid harsh stuff like meat, animal fecal matter and raw eggs. In addition, I won’t plant any vegetables around there either.
The third thing I’ve done is I’ve made the commitment to remove the material inside and place around my backyard.
E. Instructions
Step 1: Read the manual
Before we begin, please read the manual. Here is how it looks like:
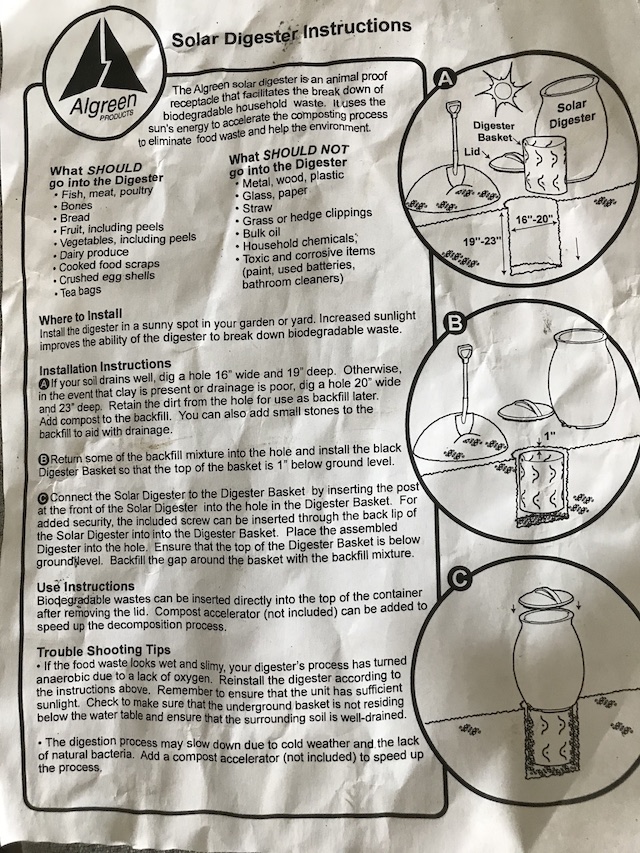 Please note: When you purchase the digester, the manual won’t look this crumpled, this was done by myself!
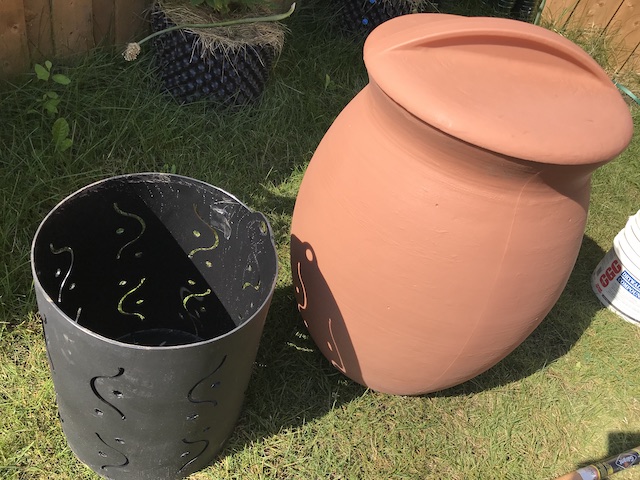
Step 2: Plan where to place
Take the solar digest components outside to the area you plan to put it in. Find the right spot and get ready to begin. Don’t forget to bring the shovel too! To give you an idea with what you are working with, here’s a picture of components you receive:
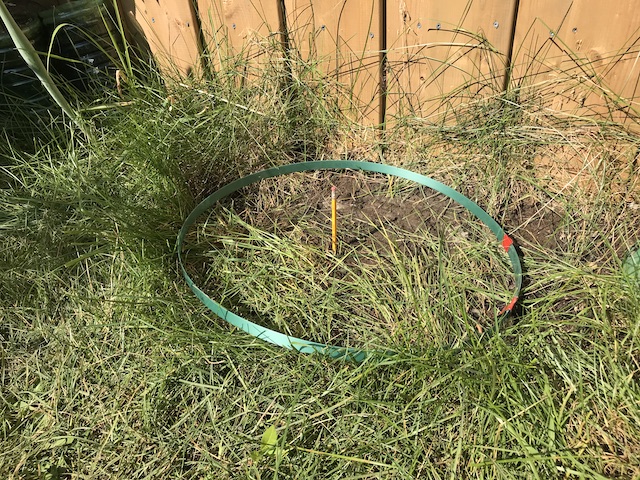
Step 3: Mark the spot
When you are finished deciding where to place the solar composter, mark the spot of where to begin digging. Measuring the actual size of the composter and placing an equal size marker helps.
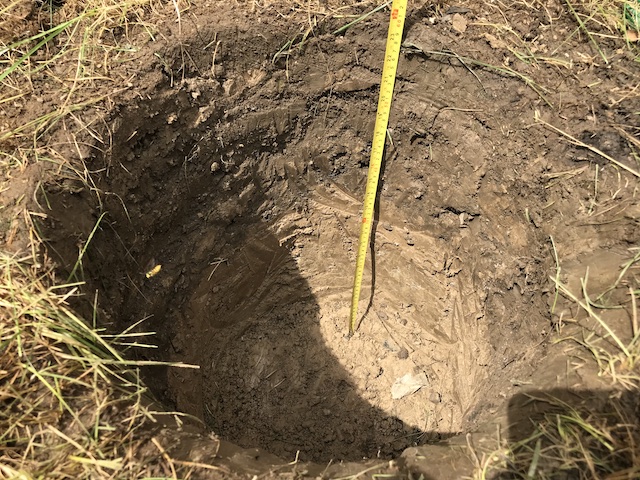
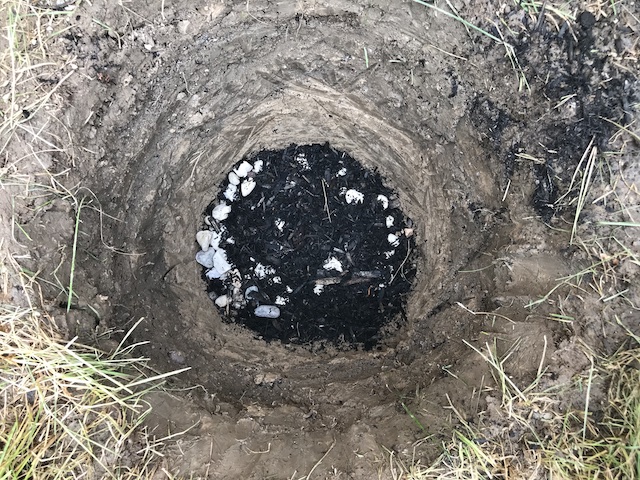
Step 4: Dig
Dig for 16 inches into the ground. If you have heavy clay soil like myself, you are going to have drainage issues; as a result we dug 24 inches.
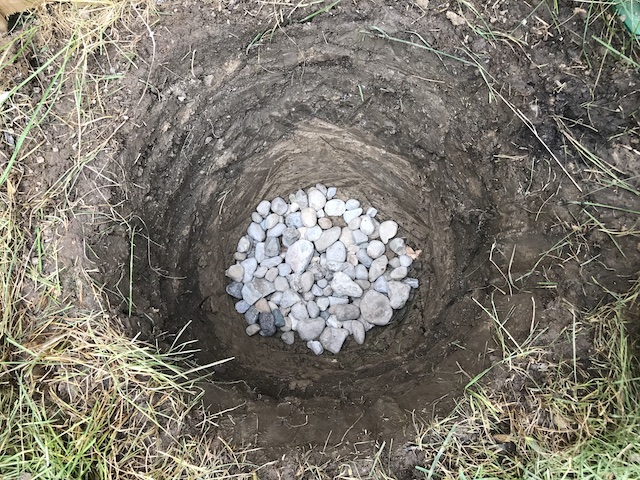
Step 5: Add stones to hole
Since we have heavy clay soil, we dug 24 inches and applied rocks to help the water seep through the composter.
Step 6: Add mulch to hole
Next add mulch on top of the stones.
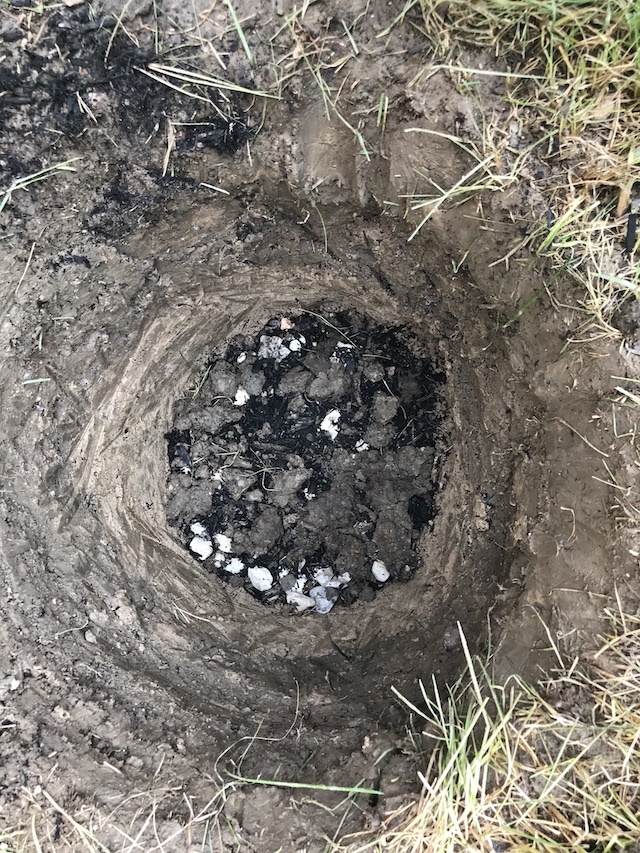
Step 7: Add native soil
Finally mix the native soil. If you measure again, the hole is approximately 20 inches. The extra stones and mulch will help the composter drain better with the heavy clay soil.
Step 8: Fit and expand hole
Fit the cylinder and see if the whole needs adjusting. If you have difficulty fitting then please dig the surroundings some more.
Step 9: Attach solar composter components
Attach the base and the cylinder components.
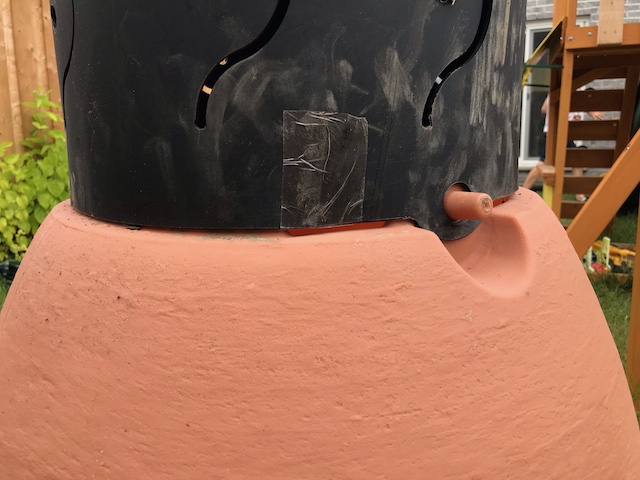
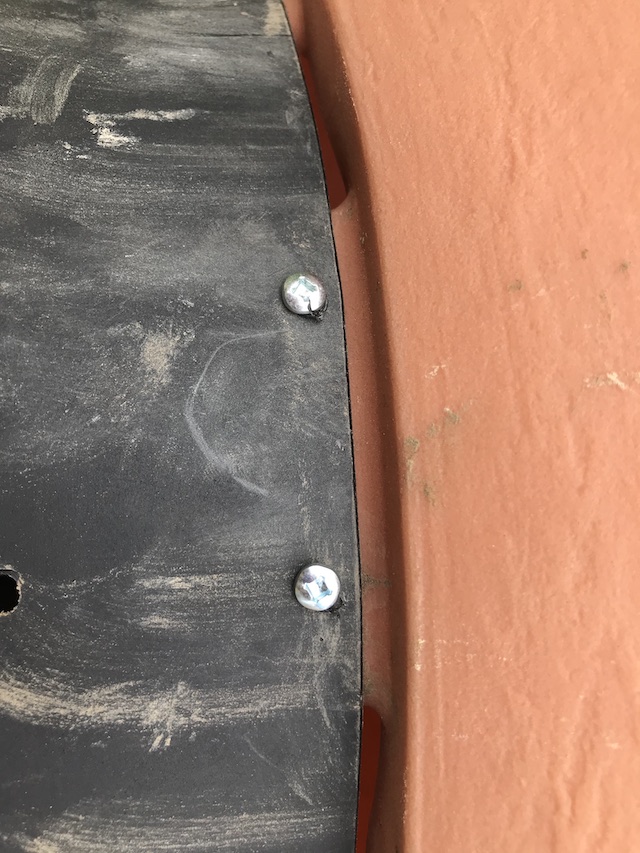
Step 10: Screw tight the solar composter components
Algreen provided two screws which will require you drill into the two components.
Step 11: Place in hole
Self explanatory.
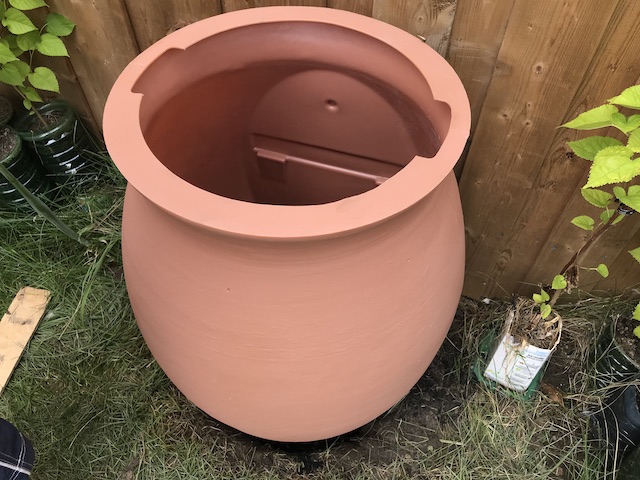
Step 12: Level
Take a few steps back and check to see if the solar composter is level. If not, you’ll need to dig / place soil to adjust accordingly. You can also use a level device to get a perfect level.
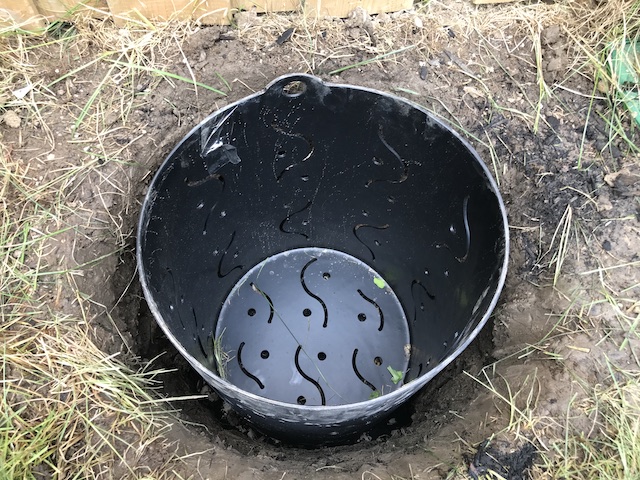
Step 13: Temporarily Anchor
Fill up a large bucket (with a handle) of something and place it inside the solar composter to provide an anchor. We filled up the bucket with the native soil as it’s heavy and does a great job weighing down the solar composter. Once anchored, you will be certain the solar composter won’t move when we do the next step.
Step 14: Fill in the sides
It’s important that the anchor is weighing inside the solar composter before you begin this step. In this step you will need to fill in the sides with soil. For us, we filled the sides with black earth soil as it’s less dense then the native heavy clay soil. This will allows the worms to more easily access the solar composter.
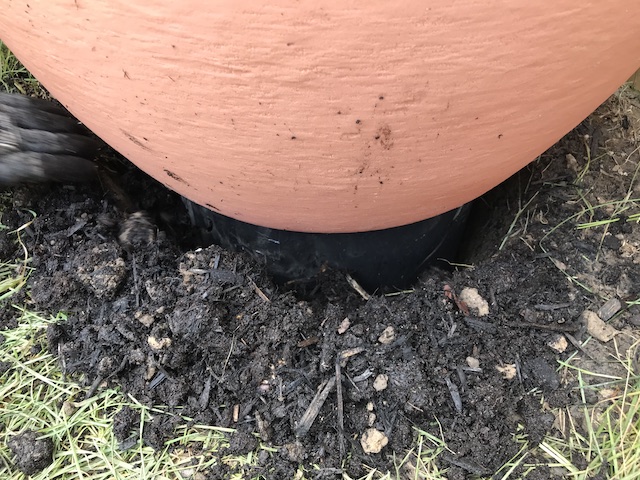
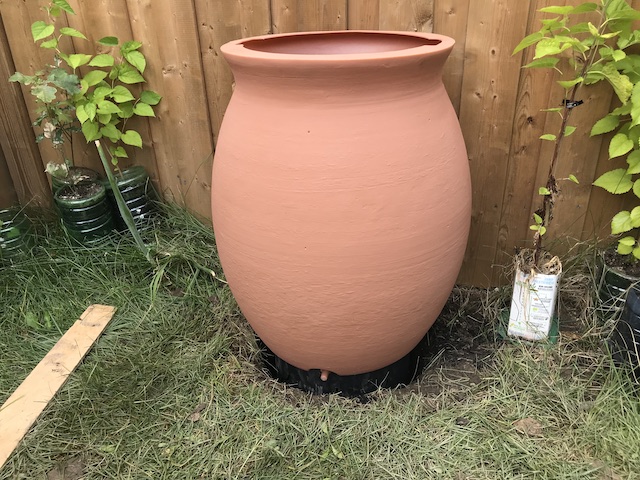
Step 15: Fill in extra soil.
Apply the remaining black earth soil onto the top. Take a few steps back and apply some more depending on your aesthetic preference.
When you feel everything looks good, remove the bucket inside and put on a lid. Everything is looking good so far and we are almost finished!

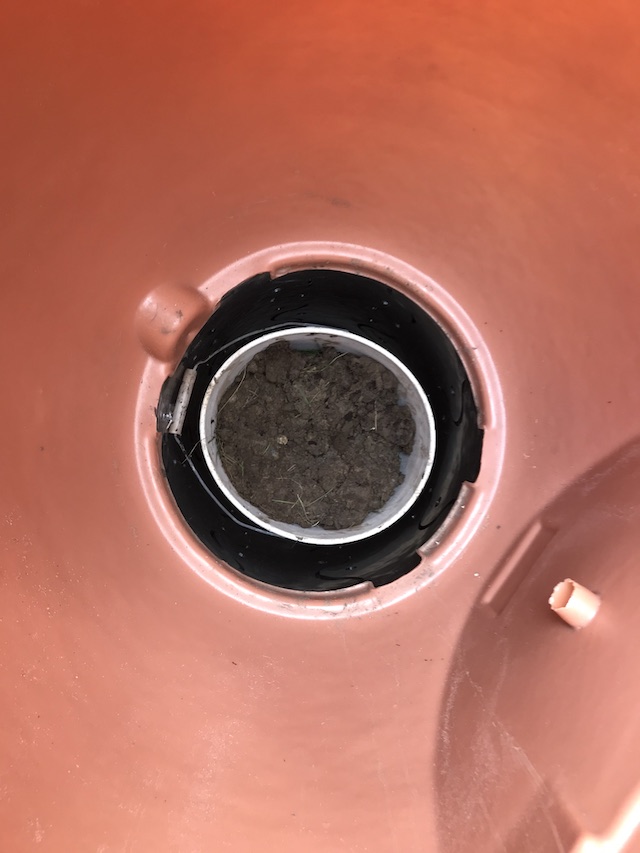
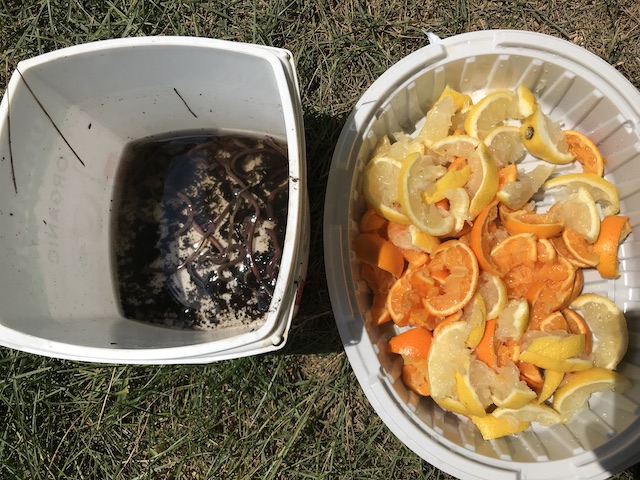
Step 16: Aquire bioreactor ingredients
Collect some worms and kitchen scraps to use. If have difficulty finding worms, try looking under rocks and or purchasing some at your local pet / fish store.
If you have another composter on your property, an optional step is to add some of the composite from there into this solar composter; this will help inoculate the soil. If you live nearby a forest, another optional step is to find a decomposing stick that looks very old and place it inside the solar composter. Again these are optional and not required so don’t worry if you cannot attempt this.
Another optional step is you can purchase composting accelerant and place it inside. This item is typically hard to find in stores so don’t worry if you cannot find it.
For kitchen scraps, I recommend simple things like egg shells, lettuce, etc. The manufacturer claims you can throw out meat but I am hesitant and haven’t tried that.
Step 17: Kickstart the bioreactor
Add the worms and kitchen scraps inside the solar composter! Close the lid when you are finished.

Step 18: Relax
You are done! Enjoy the new composter.