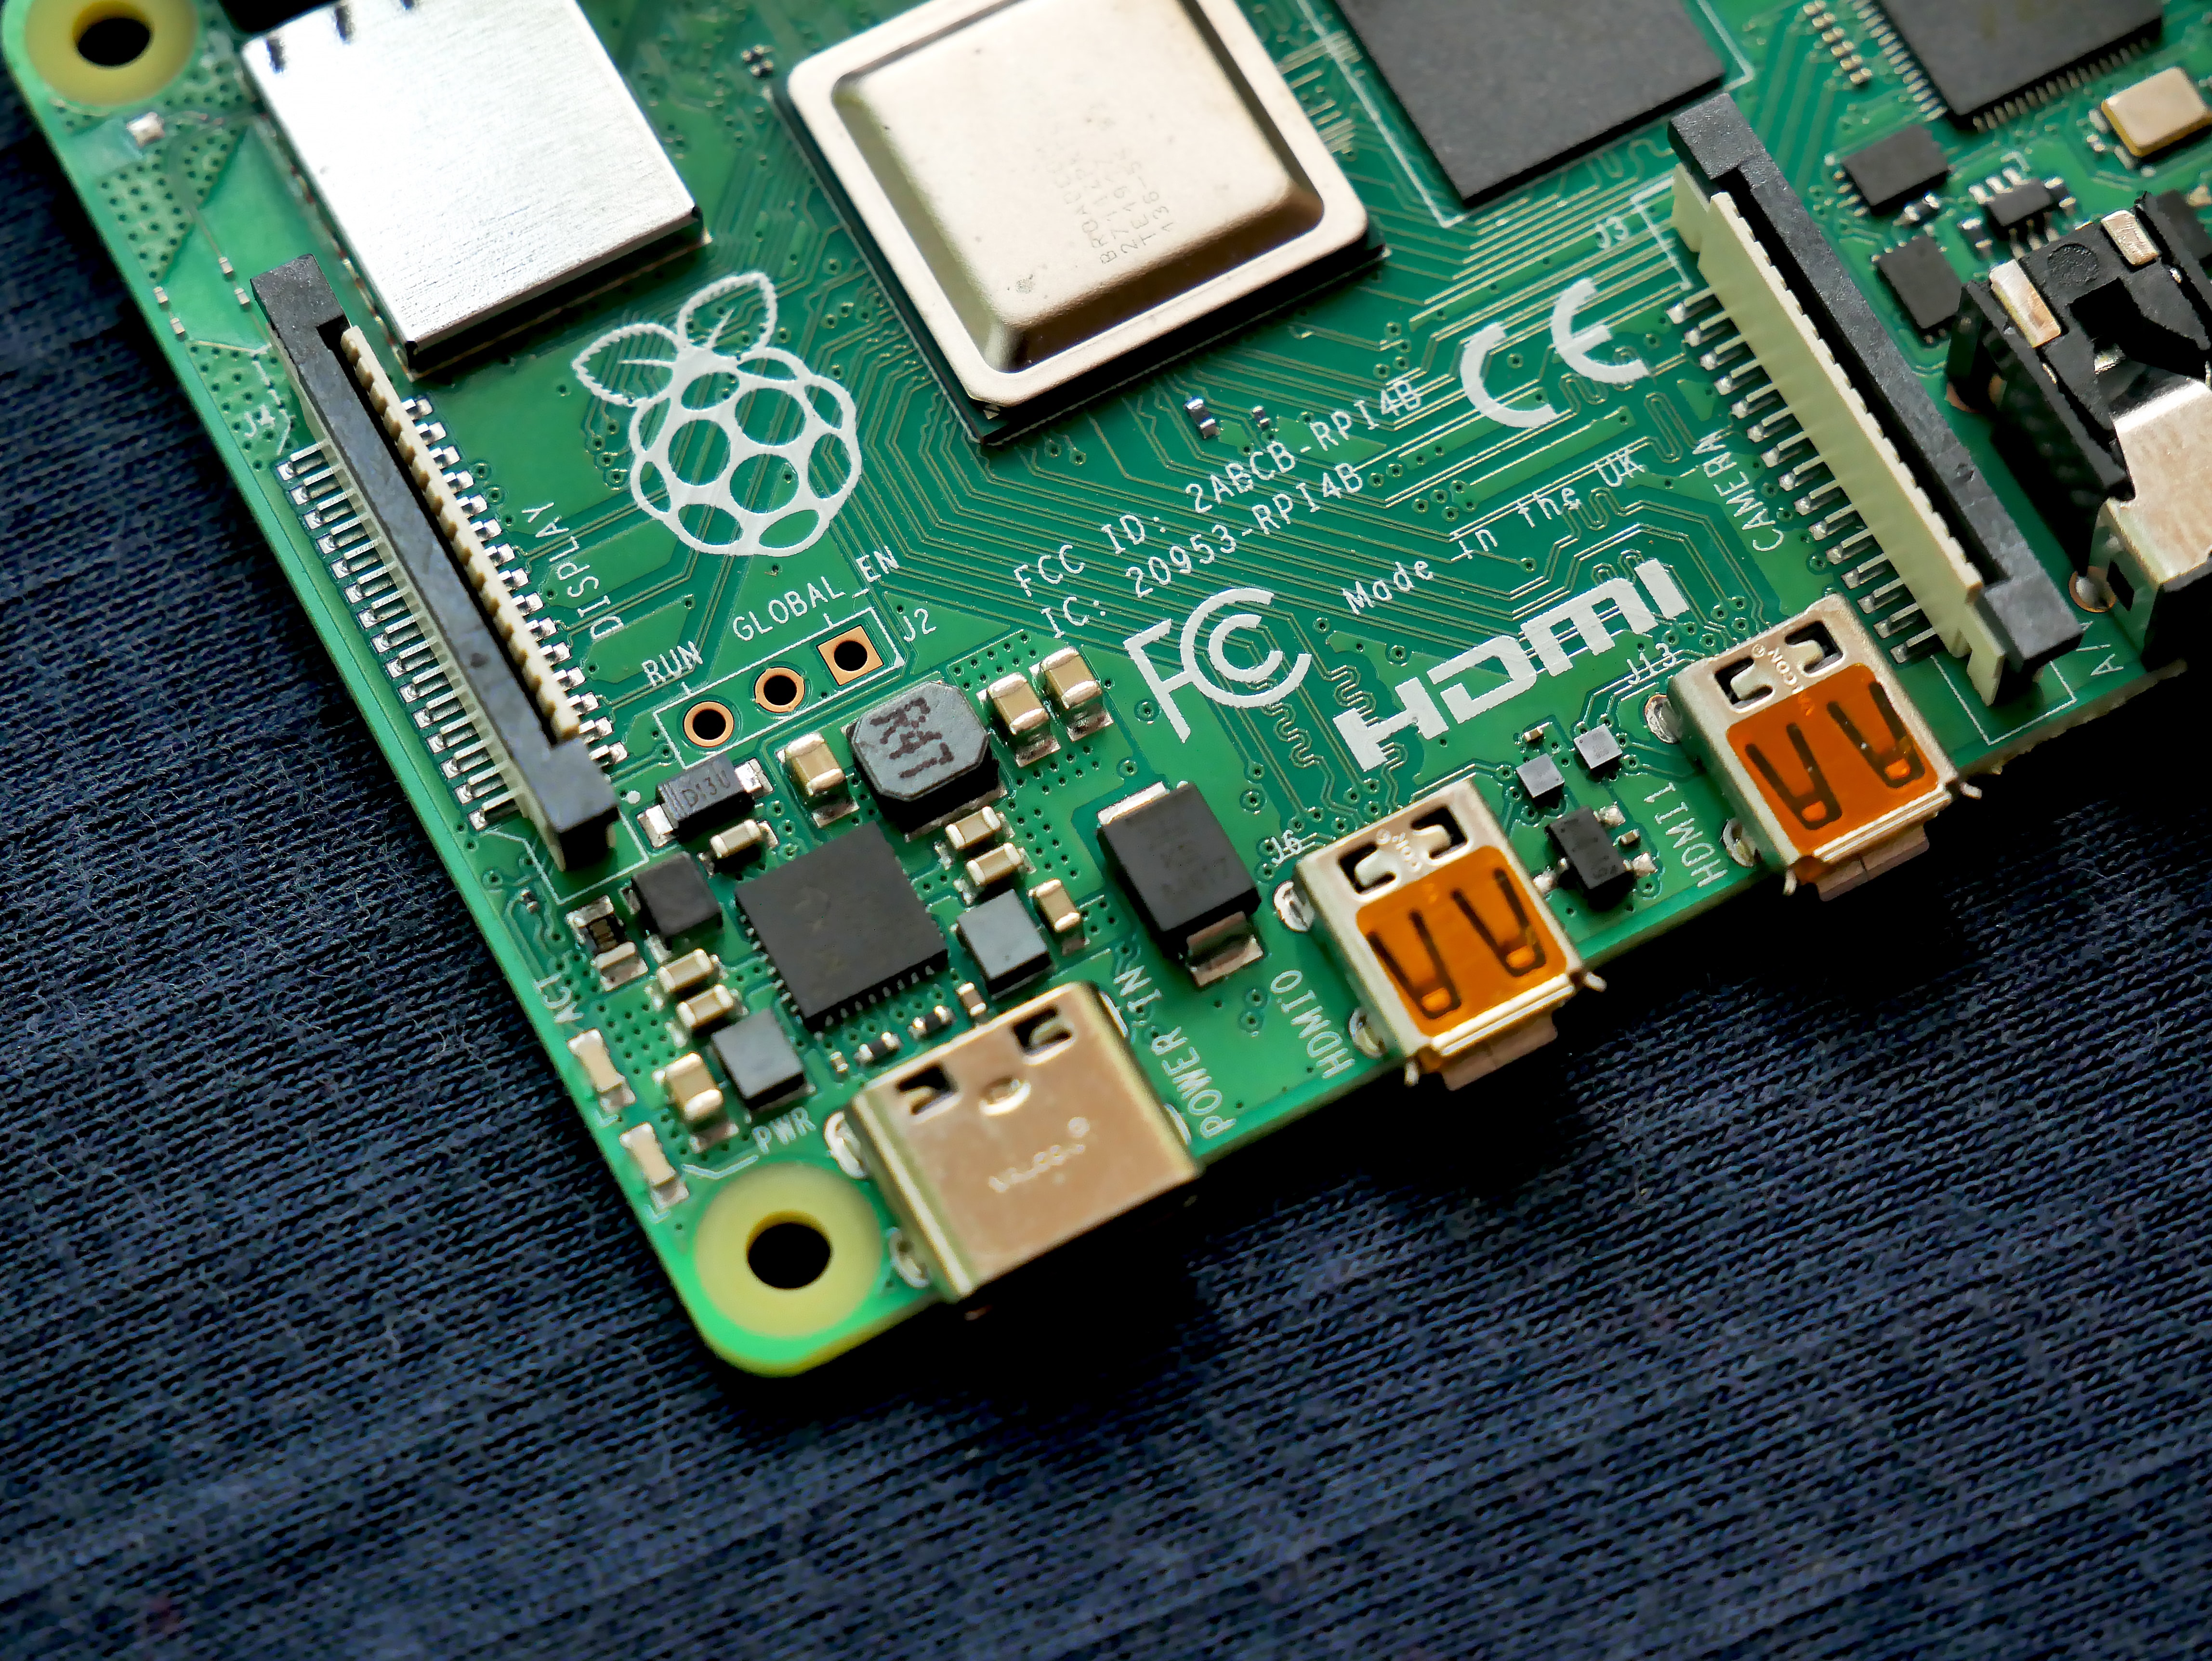
Would you believe you can participate in cryptocurrency production using a simple Raspberry Pi computer? No need for powerful ASIC miners! Peercoin is an interesting altcoin that has minting capability built-in, and minting is the ability to create new coins from the ones you already have. In this tutorial, you’ll learn how to set up a dedicated Raspberry Pi computer to mint the Peercoins in your wallet.
Assumptions
This guide assumes the following:
- You’ve downloaded Raspbian Lite ISO image.
- You’ve burned the image on the SDCard and you have some experience working with the Raspberry Pi computer
- You’ve installed
Peercoinon your computer and you want to transfer yourwallet.datfile to your Raspberry Pi computer. - You already have some Peercoins in your wallet.
This guide has been confirmed working on:
- Pi 2 Model B v1.1 1GB a21041 (Embest, China) *
- Peercoin Daemon version v0.8.1.0
Instructions
(Optional) Changing the Host on your Pi
The following section was taken from this link.
Open up this file.
sudo nano /etc/hostsLeave all of the entries alone except for the very last entry labeled 127.0.1.1 with the hostname
raspberrypi. This is the only line you want to edit. Replace “raspberrypi” with whatever hostname you desire. I named my computerpeercoin-pi.Back at the terminal, type the following command to open the hostname file:
sudo nano /etc/hostnameReplace the default “raspberrypi” with the same hostname you put in the previous step (e.g.
peercoin-pi).Commit our changes.
sudo /etc/init.d/hostname.shReboot the computer.
sudo reboot
Improve security
Install firewall.
sudo apt-get install git ufwEnable firewall and allow only ssh access
sudo ufw allow 22
sudo ufw allow 9901
sudo ufw --force enable
sudo ufw status
To add more security, read this link.
Swap
The following section was inspired by this article. Please be warned that running the following code can shorten the life-span of your SDCard.
Configure using the following.
sudo dd if=/dev/zero of=/swapfile bs=64M count=16
sudo mkswap /swapfile
sudo swapon /swapfile
(Optional) Stop our
swapmemory and remove it.sudo swapoff /swapfile sudo rm -f /swapfile(Optional) Make the swap memory permanent on every boot.
sudo vi /etc/fstab(Optional) Append the contents:
/swapfile none swap defaults 0 0
Peercoin
Build Executable
Please note these instructions where taken from this section. The following instructions are to be run on your raspberry pi.
Update the libraries.
sudo apt-get updateInstall build requirements:
sudo apt-get install build-essential libtool autotools-dev automake pkg-config libssl-dev libevent-dev bsdmainutils python3Install more requirements
sudo apt-get install libboost-system-dev libboost-filesystem-dev libboost-chrono-dev libboost-program-options-dev libboost-test-dev libboost-thread-dev(Optional) If above command doesn’t work, you can install all boost development packages with:
sudo apt-get install libboost-all-devAccording to this link, we are compiling on
armprocessor so we need to run:sudo apt-get install g++-arm-linux-gnueabihf curlInstall
gitbecause it’s not installed.sudo apt-get install gitClone Peercoin to our home directory.
cd /home/pi
git clone https://github.com/ppcoin/ppcoin.git
``
To build our dependencies for
arm, according to this link, then run the following:cd depends make HOST=arm-linux-gnueabihf NO_QT=1 cd .. ./configure --prefix=$PWD/depends/arm-linux-gnueabihf --enable-glibc-back-compat --enable-reduce-exports LDFLAGS=-static-libstdc++ makeTo build our executable for
arm, according to this link, then run the following:./autogen.sh ./configure make make install # optional
Setup and Run Executable
Upload the
wallet.datfile on your computer to your raspberry pi.rsync -avz ~/Desktop/wallet.dat pi@192.168.1.10:/home/pi/.peercoin/wallets/wallet.datRun the following code to confirm the
Peercoindaemon starts running in the background.cd /home/pi/ppcoin/src ./peercoind -listen=0 -daemon -serverIf the daemon loads up then you have successfully built the executable.
(Optional) Run peercoind in background
This section had assistance from this link.
Install
screen.sudo apt-get install screenOpen up our screen session.
screen bashStart our session.
cd /home/pi/ppcoin/src ./peercoind -listen=0 -daemon -serverDetach the screen session so it runs in the background. Enter
CTRLplusAthenD.Confirm our background process is running.
screen -list(Optional) If you would like to resume your background session then run the following, else skip this step.
screen -rConfirm our daemon is running in background by running the following command. (Don’t forget to run
CTRLplusXwhen you finish)top | grep peercoin(Optional) If you get any error, please investigate the
debug.logfile by running the following.~/.peercoin/debug.log
Start peercoind on system startup
We are going to create a service in systemd to have our peercoind startup on boot time.
DEVELOPERS NOTE: For some reason the following code does not want to work. If someone can comment on how to fix this, that would be great!
While being logged in as
pirun the following:cd ~/ touch peercoind_startup.sh vi peercoind_startup.shPopulate the contents of our new file with the following
#!/bin/sh
cd /home/pi/ppcoin/src
./peercoind -listen=0 -daemon -server
Permit to run our script.
chmod u+x peercoind_startup.shCreate our
systemdservice to handle loading our startup script.sudo vi /etc/systemd/system/peercoind.serviceCopy and paste the following contents.
[Unit]
Description=Peercoin Daemon
After=multi-user.target

[Service]
Type=idle
ExecStart=/home/pi/peercoind_startup.sh
Restart=on-failure
KillSignal=SIGTERM

[Install]
WantedBy=multi-user.target
We can now start the Gunicorn service we created and enable it so that it starts at boot:
sudo systemctl start peercoind
sudo systemctl enable peercoind
Confirm our service is running.
sudo systemctl status peercoind.serviceIf the service is working correctly you should see something like this at the bottom:
raspberrypi systemd[1]: Started Peercoin Daemon.Congratulations, you have set up a Peercoin headless minter service.
If you see any problems, run the following service to see what is wrong. More information can be found in this article.
sudo journalctl -u peercoindTo reload the latest modifications to
systemctlfile.sudo systemctl daemon-reload
Donate
If you found this article useful, please consider donating:
- Peercoin
PXTyiBqraYCn95cvEP2jcoCfYEBscNHxBW
Credits
Cover photo by Vishnu Mohanan on Unsplash.
