
The purpose of this article is to help you setup a personal blog as quickly as possible. These are the instructions and notes I’ve written down when setting up my site that I’d like to share.
Assumption
Before I begin, I am assuming you are an intermediate computer user and that you are familiar with the following technologies:
- Linux Commands
- Git / Github
- HTML
If you are an absolute beginning this article might be a challenge for you.
What is a static site generator (SSG)?
Please read this article to get an understanding of the theory. Once you finish read, continue with this article to get the application.
Pre-requisites
Install Golang
If you haven’t already installed Golang begin by installing Golang onto your computer.
Install Hugo
Please go over to the developer website for Hugo and follow along in the installation instructions page to get Hugo setup on your machine.
Instructions
Once your prerequisites have been met, continue with instructions here.
Open up your favourite terminal and start by going into your directory where you want work from.
We will be using the folder structure consistent with GitHub and Golang as follows:
cd $HOME/go/src/github.com/bartmikaNext use
hugocommand to create our site. I chose thebartlomiejmikaprefix and-hugosuffix to structure the name. Please replace the prefix with your websites domain name (ex: johnsmith):$ hugo new site bartlomiejmika-hugoGo into the directory and initialize git repository.
$ cd bartlomiejmika-hugo
$ git init
Pick a theme! This is the best part, Hugo has a lot of different themes choose from. Please go to this link and pick a theme you like. For this blog post I will be choosing beautifulhugo. Also please note that some themes might have different installation instructions so please follow them. Here is the instructions for the theme we selected:
$ cd themes
$ git submodule add https://github.com/halogenica/beautifulhugo.git beautifulhugo
Create your first blog post!
$ cd ../
$ hugo new posts/my-first-post.md
Copy the contents from this sample post file into your file located at
content/posts/my-first-post.md.Copy the contents from this sample configuration file into your config file located at
config.toml.Let’s confirm our site works by running the
hugo servercommand which will generate the site and run it. Please note everytime you make a change in your any file thehugoserver will hotreload the site with your latest content. Also note the-Dflag enables draft articles which you are writing to be displayed on the site:hugo server -DOpen your browsers and visit http://localhost:1313/ to view your site. If something appears then congratulations you have setup your site! The next step is you’ll need to look through the project and spend time customizing it.
Create a new repo in github and call it
bartlomiejmika-hugo, copy the HTTPS addresshttps://github.com/bartmika/bartlomiejmika-hugo.git(see below)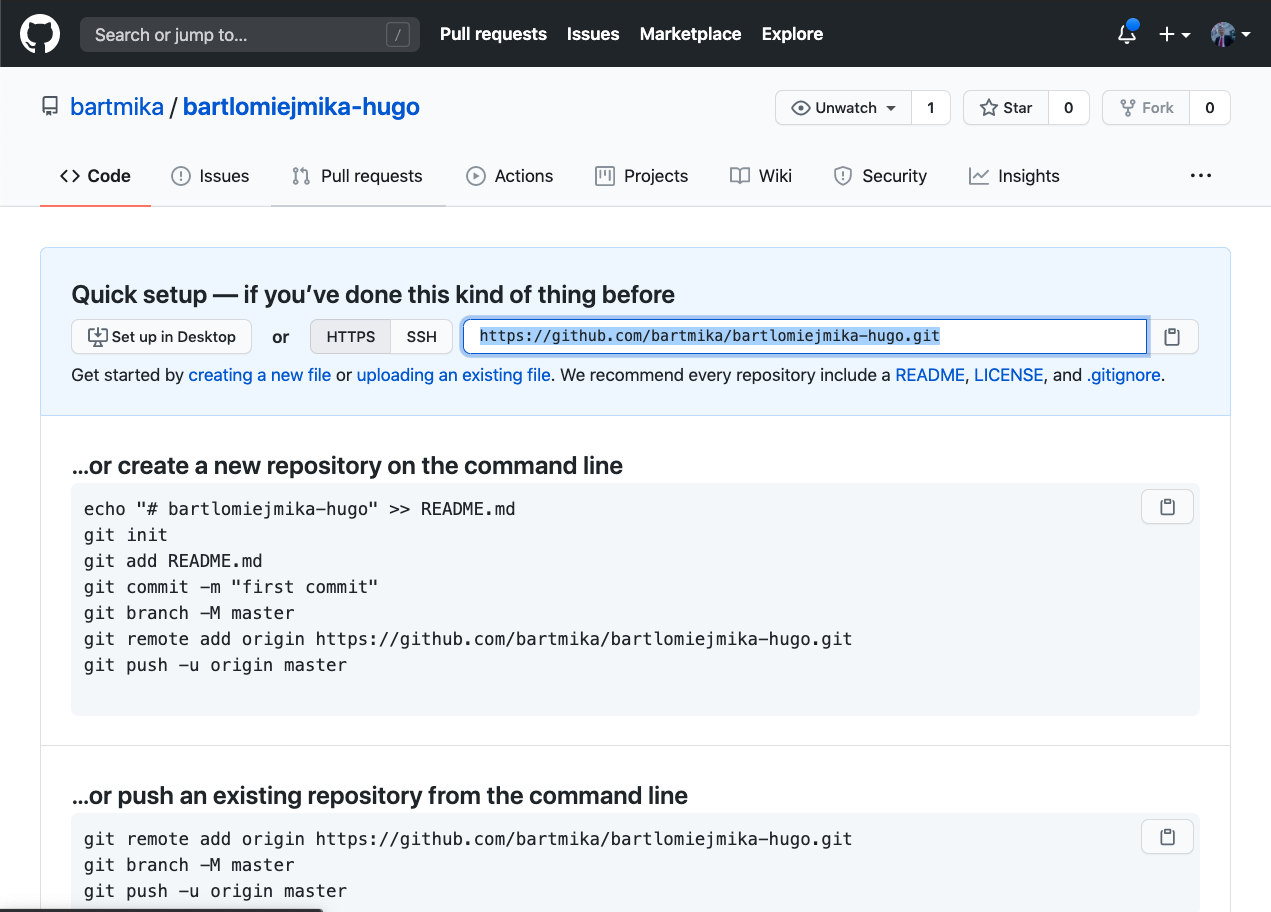
Add it as the remote git server for this project with the following command.
$ git remote add origin https://github.com/bartmika/bartlomiejmika-hugo.gitCommit all your code and you should be good!
$ git add --all;
$ git commit -m 'Initial commit';
$ git push origin master;
You are finished. This means you can now start writing blogs on your local machine for now. When you are ready to publish your site to the internet, please follow the instructions in part 2 of this series.
Thank you and have a great day!